|
|
|
|
|
|
|
|||||||

|
|
|
|||||||||||||||||||||
|
|
|
|
What is a VPN connection?
A VPN (Virtual Private Network) connection lets you connect to your LAN (Local Area Network) or a remote computer from anywhere. An Internet connection is the only thing required. You can connect to a VPN Server Mac OS X from Mac / iPhone / PC and you can also use all the services your LAN provides, such as:
|
|
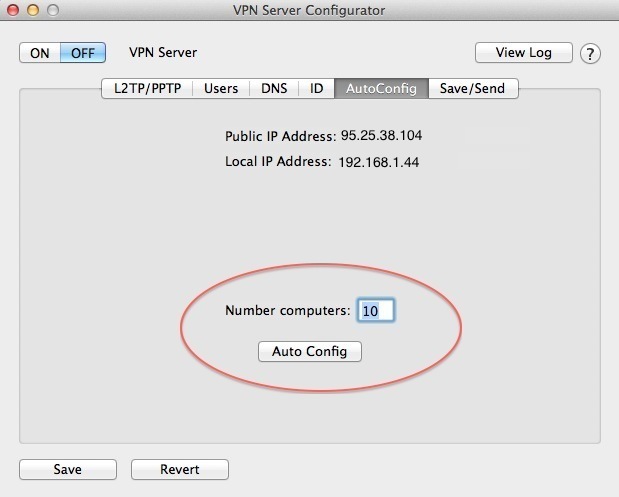
What is a VPN Server Configurator?
The VPN Server Configurator configures and makes active the native Mac OS VPN Server. So when you connect to the VPN Server Mac OS X you are using only native Mac OS X services, just like in Server Mac OS X. With this program you can configure and activate the Mac OS X VPN Server without special knowledge to do this; enter the number of client computers, and click the button «AutoConfig».
|
|
Main features of the VPN Server Configurator
WARNING!!! Do not use VPN Server Configurator on Mac OS X Server.
|
|
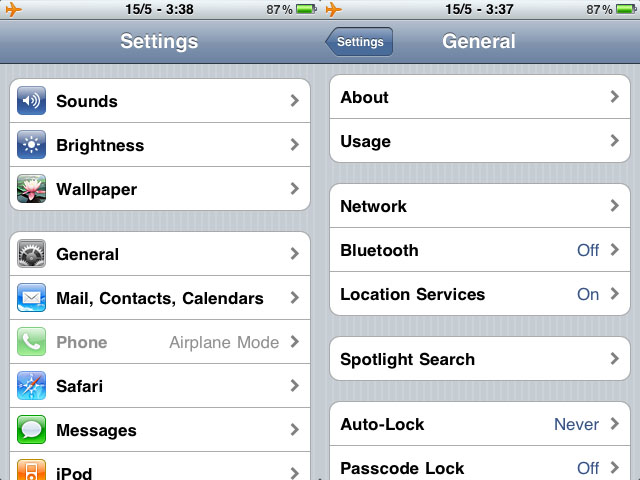
How to configure a VPN connection
|
|
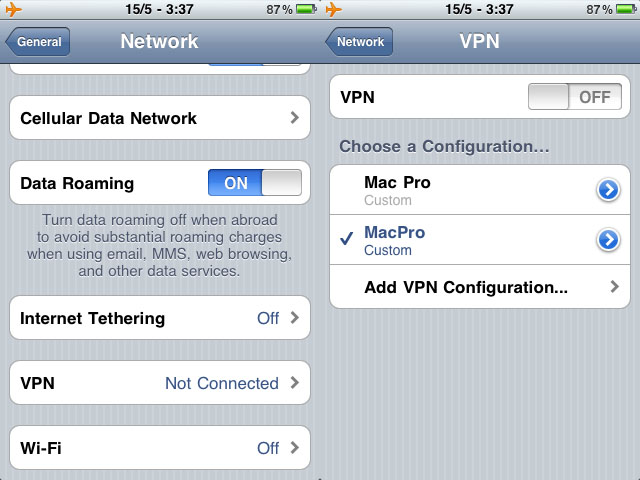
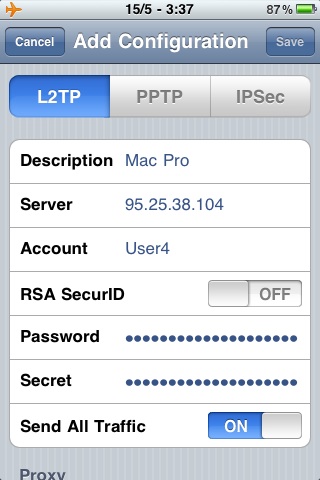
How to configure a VPN connection for iPhone?
|
|
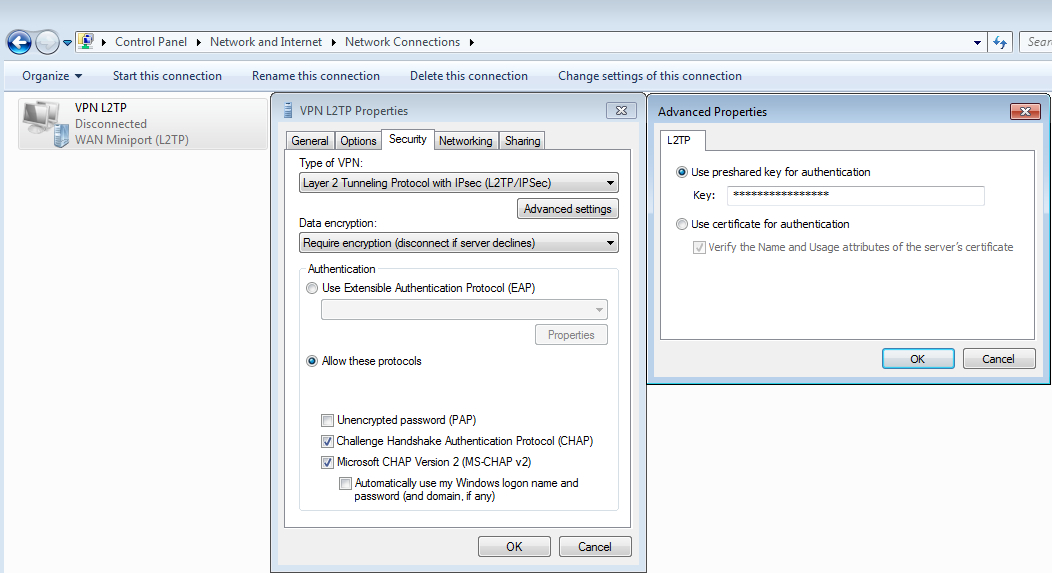
How to configure a VPN connection for MS Windows 7?
|
|
What happens next if you quit the VPN Server Configurator?
VPN Server will continue to work after the quit from the VPN Server Configurator.
|
|
Why does the program ask for administrator’s password while saving settings or changes?
You can change the configuration files of VPN Server only if you have administrator’s privileges.
|
|
|
|
|
|
|
|||||||||||||||||
| Copyright © 2025 GreenWorldSoft . All rights reserved. | Site map |